
Understanding OpenAI Billing
Since Team-GPT utilizes OpenAI’s API infrastructure to power your AI interactions, OpenAI payment methods must be properly configured if you are on a ‘Bring your own key’ plan.
How OpenAI Calculates Your Charges
Open AI API billing operates on a usage-based model where costs are calculated based on:
- The number of tokens (message units) sent to the AI
- The number of tokens received from the AI
- The specific models used
- Any additional features like image generation or analysis
Important note: All usage billing is handled entirely by OpenAI. Team-GPT is not involved in the transaction process, serving only as the interface through which you access OpenAI’s AI capabilities.
Step-by-Step Guide to Setting Up OpenAI Billing Information
For your API key to function properly in Team-GPT, you must complete the OpenAI payment methods setup on their platform. Follow these detailed steps:
1. Access Your OpenAI Account
Begin by logging into your OpenAI account at platform.openai.com. If you don’t have an account yet, you’ll need to create one before proceeding with Open AI billing setup.
2. Navigate to Billing Settings
Once logged in, locate and click on the “Billing” option in the left sidebar. This will take you to the OpenAI billing dashboard where you can manage all aspects of your payment configuration.
3. Configure OpenAI Payment Methods
Within the billing section:
- Click on “Payment methods”
- Select “Add a payment method”
- Enter your credit card or other payment details
- Ensure your billing address is correct
- Save your payment information
Having valid Open AI payment methods on file is critical for maintaining uninterrupted access to AI capabilities within your Team-GPT workspace.
4. Pre-purchase API Credits
- Navigate to the billing page
- Look for the “Add credits” option
- Select the amount you wish to purchase
- Complete the transaction
5. Set Usage Limits to Control Spending
To prevent unexpected charges on your Open AI billing statement:
- Go to “Usage limits” in your OpenAI dashboard
- Set monthly spending caps that align with your budget
- Consider setting model-specific limits if you use multiple AI models
Important Details to OpenAI Billing Structure
Starting March 25, 2024, OpenAI implemented a significant change to their OpenAI billing method for API accounts. This update affects how you manage your OpenAI API key billing:
- Instead of receiving an invoice at the end of each month, you must pre-purchase credits
- Your API requests may temporarily fail if your account runs low on credits
- You’ll need to monitor your credit balance more actively
- This change applies only to OpenAI API key billing, not ChatGPT Plus subscriptions
Using Multiple AI Models in Team-GPT
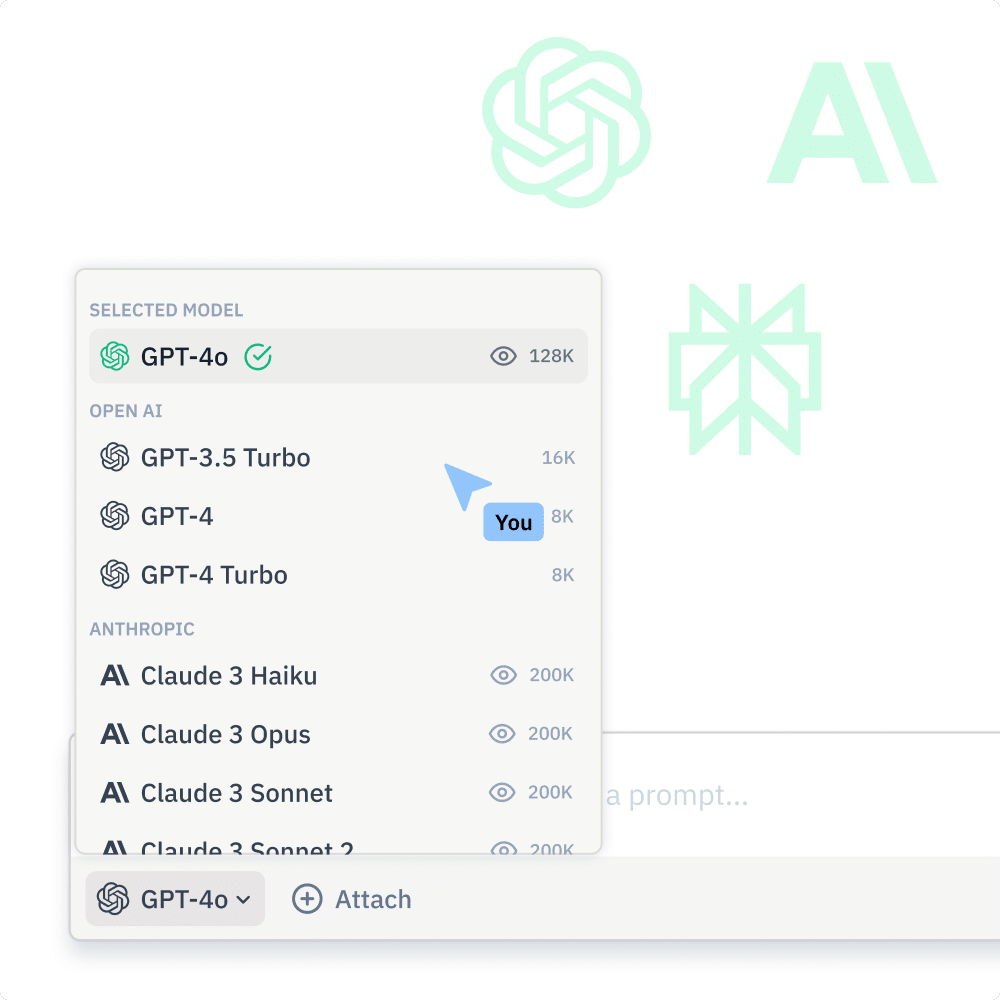
Team-GPT offers you flexibility in the AI models you can use – the platform supports multiple AI models including OpenAI’s GPT models and Anthropic’s Claude.
You can switch between models seamlessly within the Team-GPT interface. This multi-model approach allows you to select the right AI for each specific task.
When and How OpenAI Billing Occurs
Billing Cycle
OpenAI billing now works on a credit-based system:
- You pre-purchase credits that are drawn down as you use the API
- When credits run low, you must purchase more to continue using the service
- Usage is calculated in real-time as you interact with AI models
Troubleshooting: When You Hit OpenAI Usage Limits
Occasionally, workspaces reach the API usage limits set by the administrator in the OpenAI billing dashboard. When this happens:
- No one in the workspace can send messages to GPT models
- API requests will fail until the situation is resolved
- You’ll need to take immediate action to restore service
How to Resolve Usage Limit Issues
To regain API access when you’ve hit your OpenAI billing limits:
- Check your current usage at OpenAI API Usage
- Confirm you’ve reached the limits you previously set
- If needed, increase your usage limits at OpenAI Usage Limits
- Purchase additional credits if your balance is low
Proactively monitoring your OpenAI billing usage can help prevent these interruptions before they impact your team’s productivity.
Getting Started with Team-GPT
Now that you understand how to configure Open AI billing for your workspace, here’s how to set up your Team-GPT account.
- Complete your OpenAI payment methods setup following the steps above
- Sign up for Team-GPT
- Navigate to Workspace settings → Models & Credentials
- Click on Add model or Add new connection
- Select OpenAI from the dropdown menu
- Enter a name for your connection
- Paste your OpenAI API key in the designated field
- Click Save to complete the setup
- After connecting your key, Team-GPT will automatically verify the connection and show you which models are available
Team-GPT’s collaborative features, multi-model support, and organizational tools amplify the effectiveness of your AI interactions. Whether you’re using AI for content creation or strategic planning, Team-GPT provides the framework to make those interactions more productive and impactful.

Margarita Arsova
Margarita combines marketing expertise with product knowledge to help teams use AI effectively. She focuses on practical applications of AI in marketing, showing companies how to boost productivity while addressing common implementation challenges.